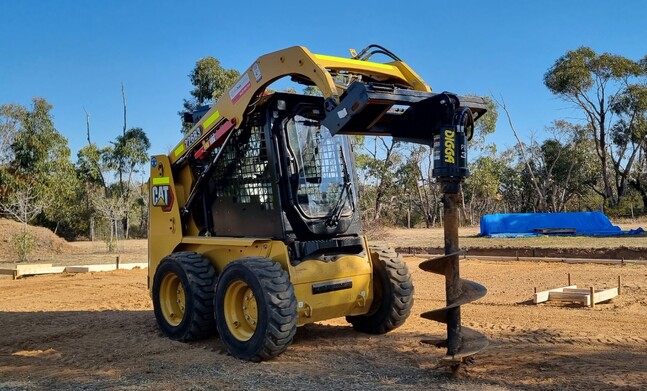
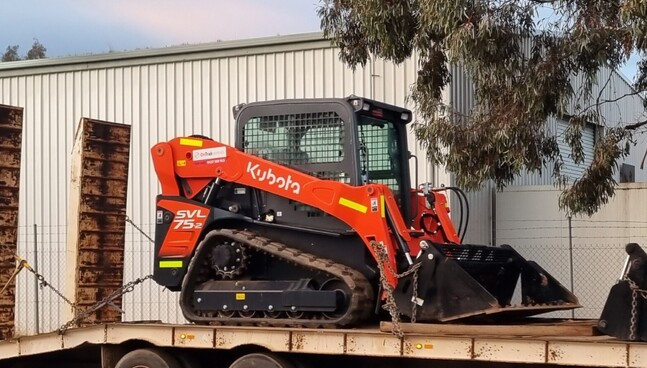
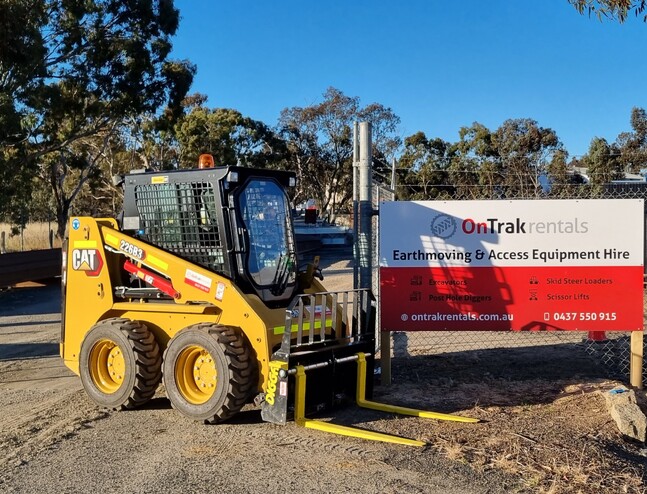
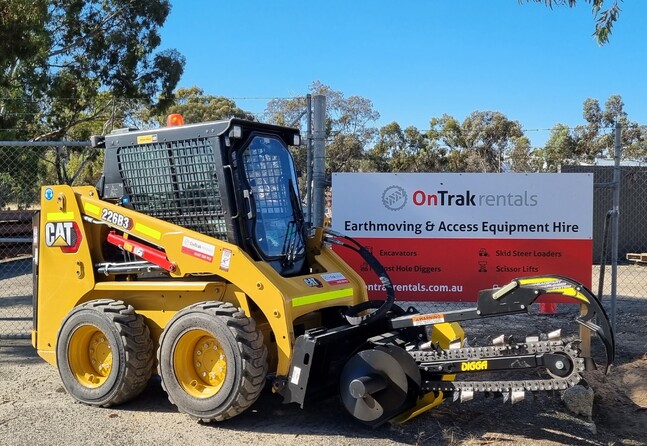
Knowing how to change bobcat, skid steer or positrack attachments is essential for anyone looking to maximise the use of their machine or the hire of machinery. Skid steer loaders are a powerful piece of machinery, making them a perfect option for use with a range of attachments such as augers, trenchers, stick rakes and more. If you are like us, we are always trying to become safer and more efficient and we hope this article helps.
Here is a few tips for changing attachments on your bobcat, skid steer loader or positrack...
Step 1 - Safety First:
Before you begin changing your machines attachments, please ensure you are in a safe, flat area with sufficient room to maneuver in your surroundings.
Step 2 - Check Equipment:
Make sure the machine, attachments, and quick hitch mounting plates are clean with no sand, rocks, mud or sticks stuck on them that could contaminate the hydraulic oil in your machine or prevent the attachment from mounting properly.
Step 3 - Attach the Attachment to the Loader:
Attach the machine to the attachment and manually lock levers or engage quick hitch pins down into attachment. Lift the attachment up and visually verify that the pins are through both holes on each side of the quick hitch mounting plate.
Step 4 - Connect Hydraulic Hoses:
Connect the hydraulic hoses from the attachment to the machine. It doesn’t matter the sequence that you connect them up in. Connect by pushing them together (Male and Female couplers). You should hear a click and once connected, give a little pull on them to make sure they are secure and locked together.
Step 5 - Turn on Auxiliary Hydraulics to Operate Attachment:
Turn on the auxiliary hydraulics inside the cabin to start operating the attachment. First off, operate auxiliary hydraulics on low idle and low speed. You want to do this to make sure all connections are secure and there are no hydraulics leaks on either the machine or the attachment. Once you can see no leaks and everything functioning as it should, you can start to turn up the revs and run the hydraulics at a faster speed.
Step 6 - Preparing to Disconnect Attachment:
When ready to disconnect, check the machine to see if there is an auxiliary pressure relief, if so press and shut off the machine. Another way to relieve pressure from the hoses is by pushing the hoses that are connected to the machine back into the machine. The couplers on the machine will retract backward approximately 5 - 10mm. Pull back on the female coupler to disengage the male coupler.
Step 7 - Disconnecting:
Manually unlock levers or disengage quick hitch pins upwards out of the holes in a quick hitch mounting plate and back away slowly.
Need more help to get your project underway or free advice?
As usual we have short and long term hire options available, give us a call today to discuss this one further and always remember to www.1100.com.au before you dig!


